The Workplan: your assembly guide for physical mosaics
A finished design is only half the job. The Workplan turns the digital arrangement into a practical, position-by-position guide for placing real bottle caps.
What a Workplan is
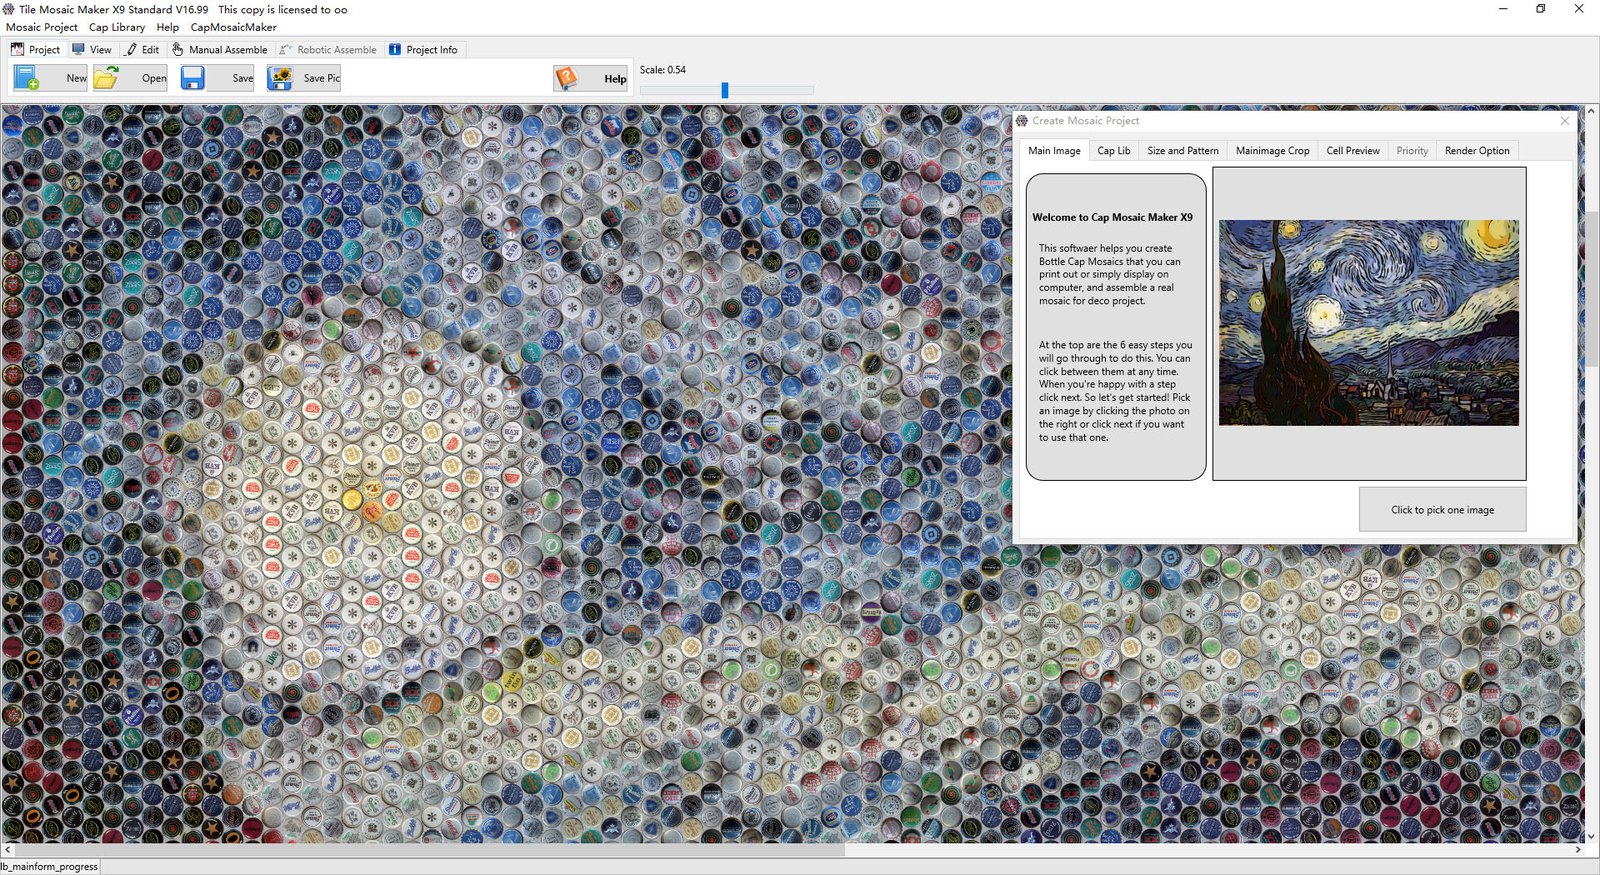
A Workplan is the assembly guide generated by Cap Mosaic Maker — available in both the Online and Standalone versions. For each position in the mosaic grid, it identifies which cap design belongs there — so you can assemble the mosaic cap by cap without guessing.
It is the bridge between the digital plan and the physical build: the design decides what the mosaic looks like; the Workplan tells you how to put it together.

The Workplan in a real build
This is what it looks like in practice: a physical bottle cap mosaic mid-assembly on a gridded wooden board. The printed Workplan — visible at the bottom of the board — tells the builder which cap design goes in each position.
The mosaic was planned against the builder's actual Cap Inventory, so every cap the plan calls for is on hand.
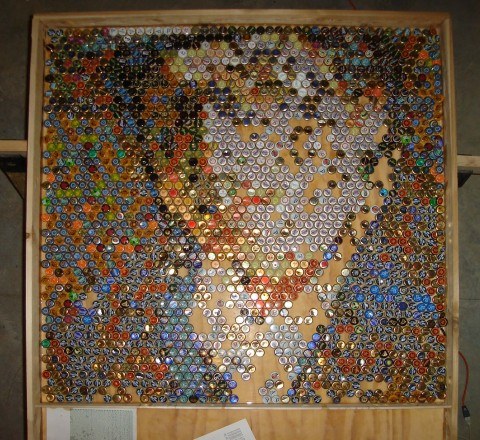
Thousands of caps, zero guesswork
Identifies cap placement
Every grid position is mapped to a specific cap design from your Cap Inventory — no improvised substitutions mid-build.
Respects your quantities
Because the plan was built within your per-design limits, the Workplan never asks for more caps than you own.
Carries orientation
With Automatic Cap Rotation, orientation is part of the plan — a cap's angle affects how its shading reads in the finished piece.
How to get a Workplan
- Configure your target image and cap collection in the Online or Standalone Version.
- In the Standalone Version, set your Cap Inventory quantities so the plan matches what you own.
- Generate the mosaic, then generate the Workplan for assembly.
- Build the mosaic following the Workplan, cap by cap.